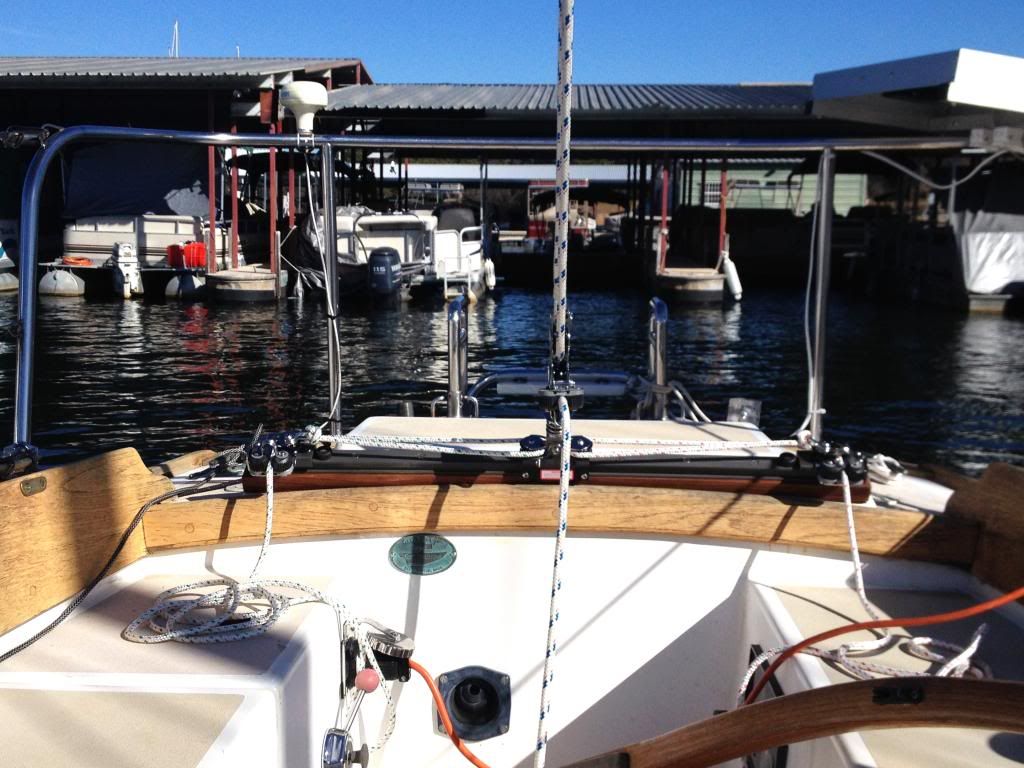
I am not an experienced woodworker, nor do I have more than layman’s knowledge of sailboat design and function. I do have access to a well equipped shop, but used only a band saw and belt sander to cut and shape the teak. However, I made several mock-ups with pine to test the fit of the riser. This is my first effort at a major upgrade on my Cape Dory, i.e. no one told me not to do it the way I did. I appreciate the design and function of my CD26, so if I have violated significant design and functional aspects, please let me know. I started this project in October 2013 and completed installation on January 22, 2014. Keep in mind that Garhauer does quality work that took 4 or 5 weeks from order to delivery. Also note that my boat sails Lake Ouachita in Arkansas, 90 drive minutes from our house. This project took awhile.
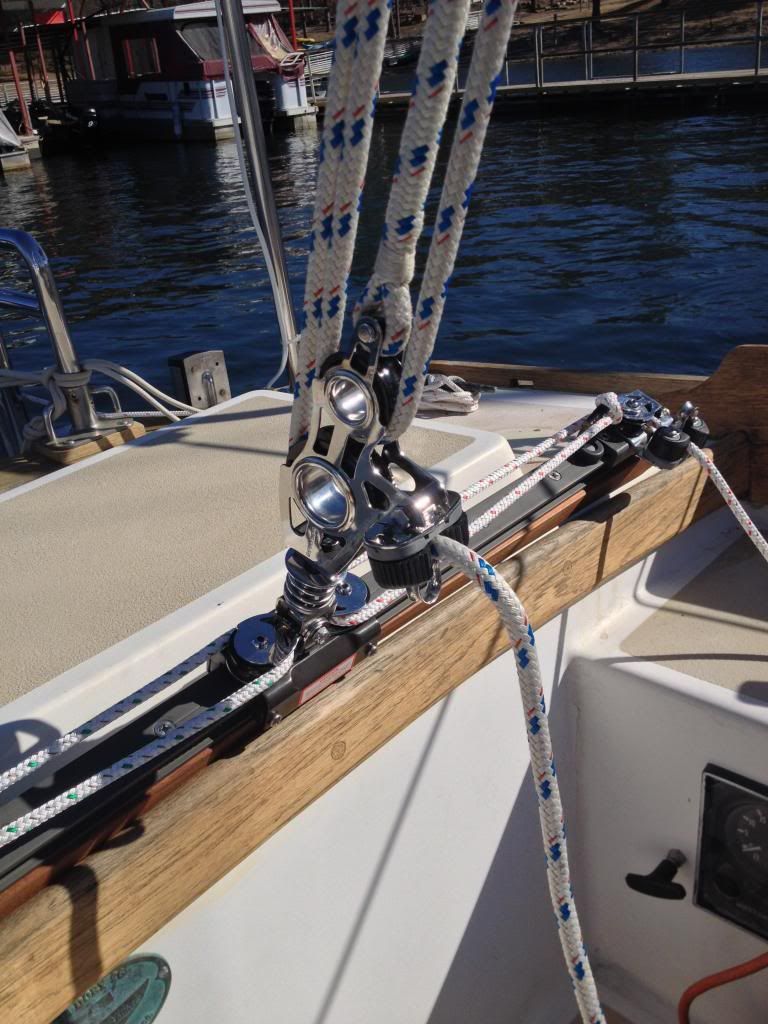
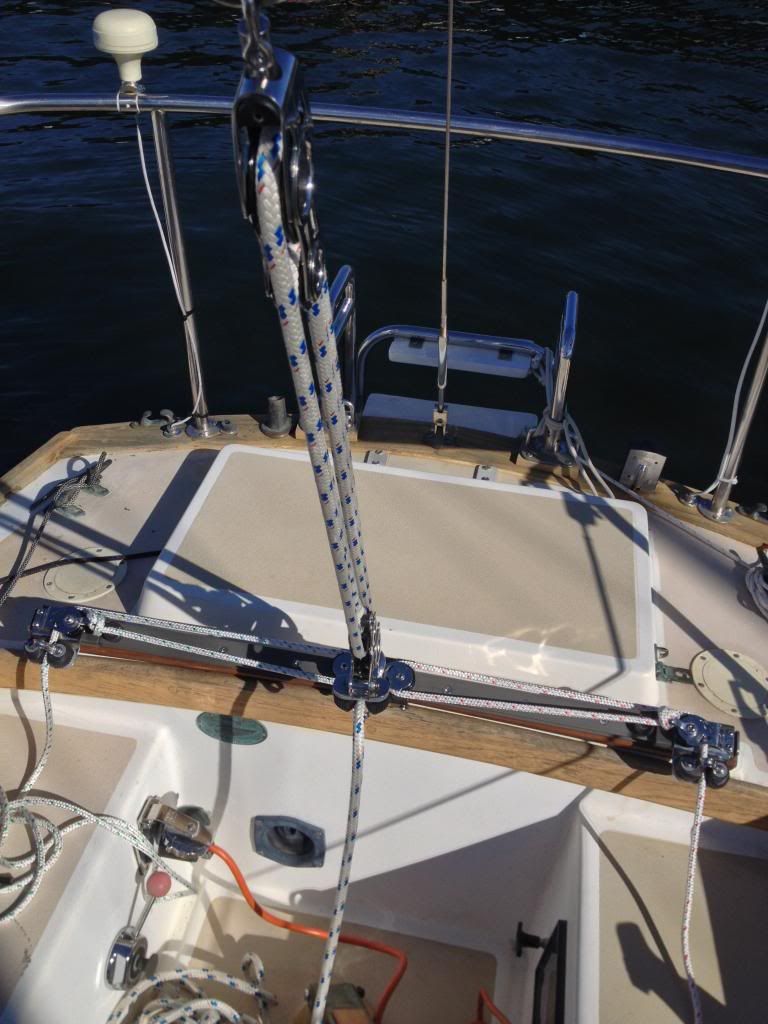
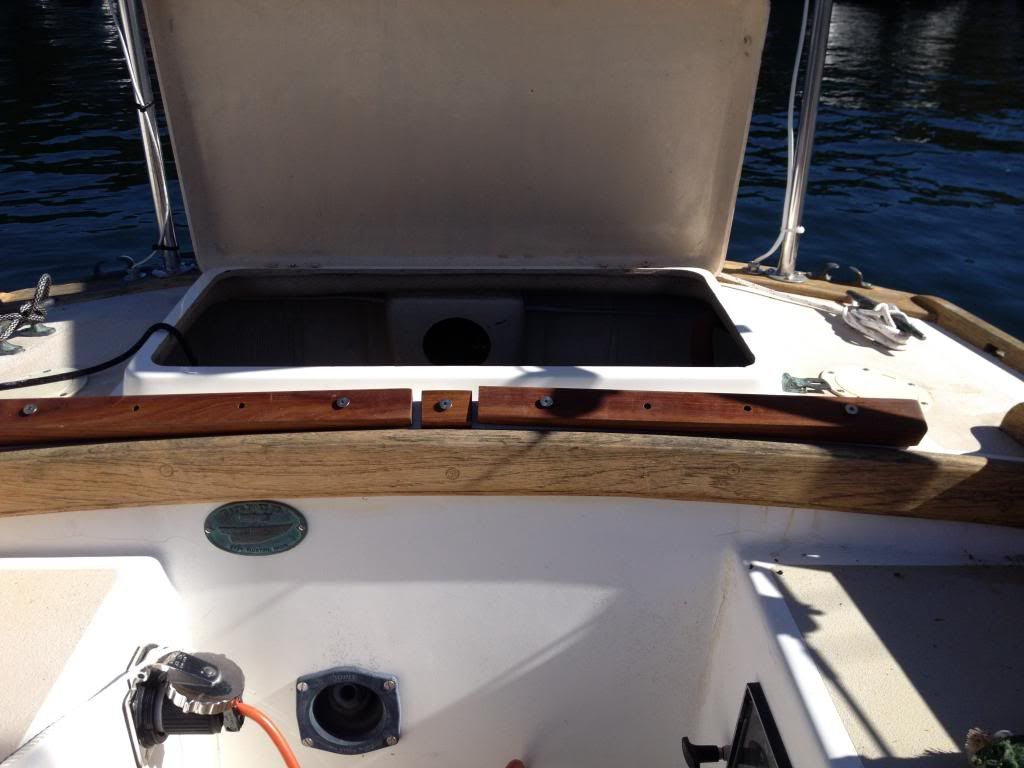
The MT-3 was custom built to my specifications – 37 inches long with hole spacing on 4 inch centers to match the nine holes in the deck. Garhauer fabricates travelers from a soild piece of extruded aluminum so it gives very little, keep that in mind when determining length, hole placement, and curvature. Upon first fitting, I realized I had to make the riser. I bonded 3/4" and ½” teak using West System epoxy to make a 1 ½” wide riser that tapered from 1 1/16” to 3/8”thick. The riser is made in three pieces, port, starboard, and middle. To align all nine holes in the one piece riser, traveler, and hull was nearly impossible so I split the riser into two four hole and a single hole piece in the middle and treated with Deks Olje teak sealer before installing. Amazingly, the bolt holes for the traveler and riser aligned and the fit to the hull holes was almost perfect with a slight curvature. It all fit together!
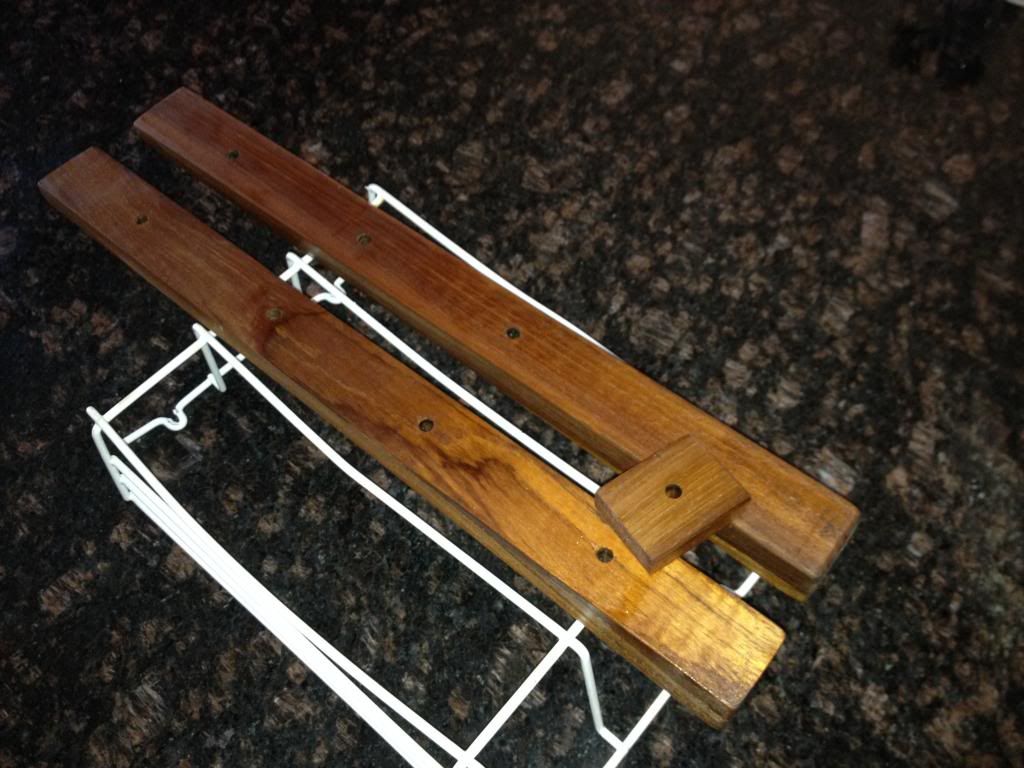
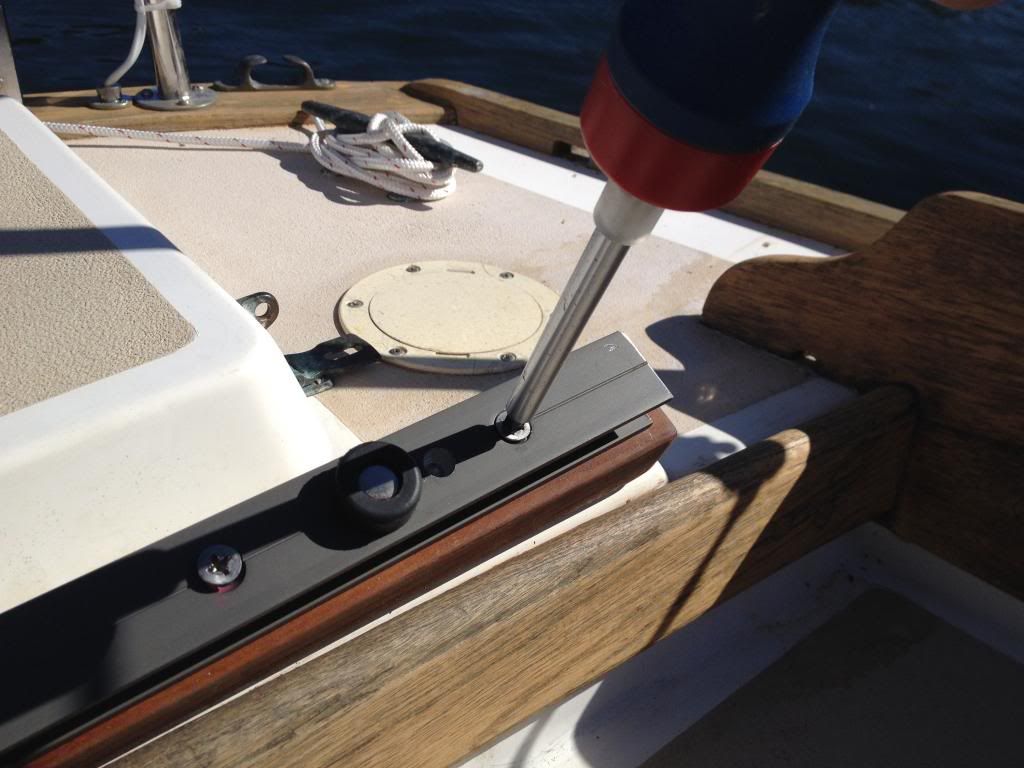
Installation: port side first bedding the teak with butyl tape (Compass Marine) against the hull then progressing to the starboard side. I used 4 - 5 inch long ¼” stainless steel Phillips head counter sunk bolts to fit the traveler flush and nylon insert nuts with washers. Since the CD26D has an aft locker, access to thread the nuts was simple but the nuts are at an angle to the underside of the fiberglass which I do not like. (suggestions here?) By the way be sure to use the right size Phillips tip (#3 shown) when tightening the bolts to keep from galling the heads.
The cam cleats were removed earlier to attach the traveler so these go back on with the keeper plates on the ends. Trying to fit the old blocks to the new traveler was going to be more expense and trouble than buying new matching Garhauer blocks. I decided to replace the main sheet Shaeffer blocks with Garhauer a 30-02 fiddle block with shackle and a 30-06 fiddle block with cam cleat. Garhauer mated the control block to the car very nicely. Thread some 3/8” line (red and green) on the sheaves and there it is. I sailed one of the mock-ups in-place, and I am looking forward to sailing the complete traveler installation.
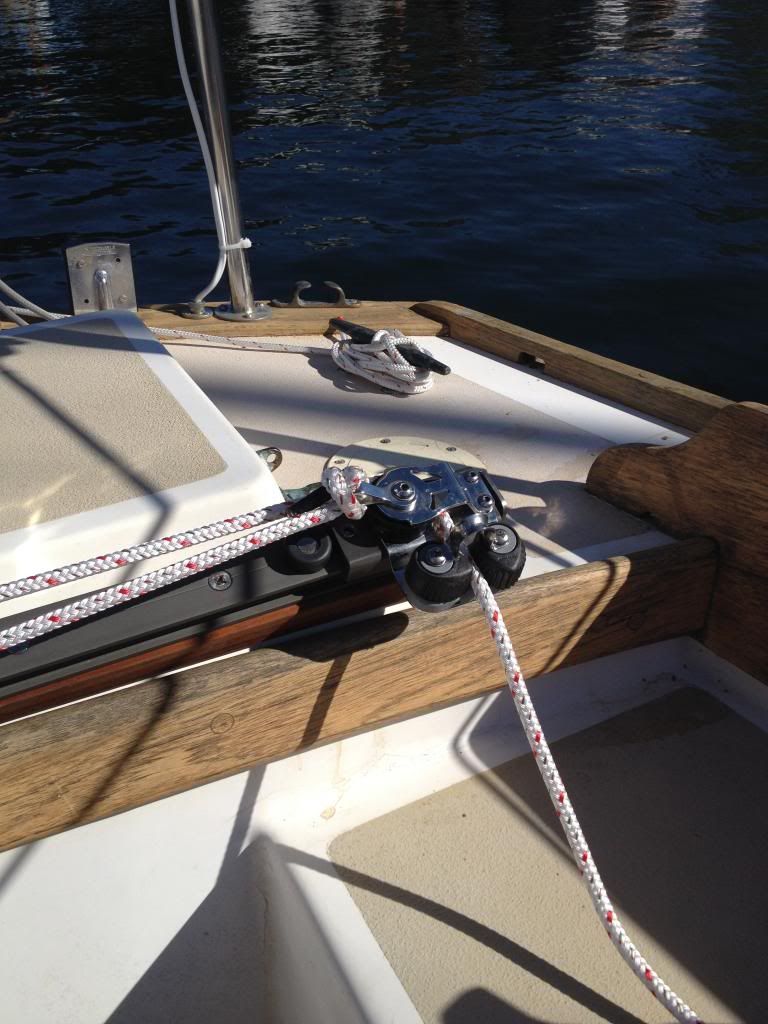
In the background of these pictures there are a couple other projects from the last 8 months, a solar panel and a swim ladder.
Comments and suggestions are welcome.