And for those of you who have already gone through something like this, grab a drink and have a laugh.
Bear in mind as you read this that I am living aboard.
I bought Mathilda (her new name) knowing full well that there were issues that needed to be addressed and since I had already rebuilt 2 slightly smaller boats from the keel up ( an early Gary Mull Ranger 22 and a `59 Type I `Frisco Flyer) I felt up to the task.
The water in the tanks was smelly and at first I thought I'd just replace the hoses, dis-assemble, clean and reinstall the pump and then run fresh water with a little bleach through the tanks `til they overflowed through the vents into the bilge. Then the bilge pump would kick on and empty it all overboard.
Well......
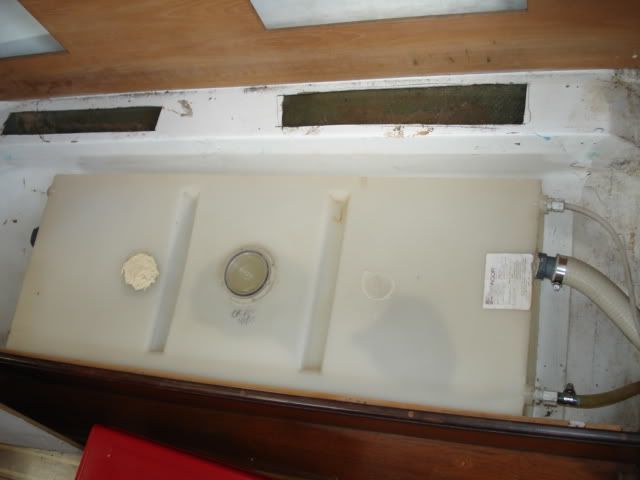
The tanks overflowed alright, right onto the cabin sole. They were both cracked on top and the water never reached the vents.
Cleaned that up. Drained the tanks after taking apart the berths to reach the attached hoses which were only on the upper 3" of the tank ends. No hoses anywhere near the bottoms of the tanks.
Luckily, the starboard tank still had the OEM label on it, so I called the OEM supplier (Kracor) and got prices on the replacement tanks.
$458. Plus shipping. Each.
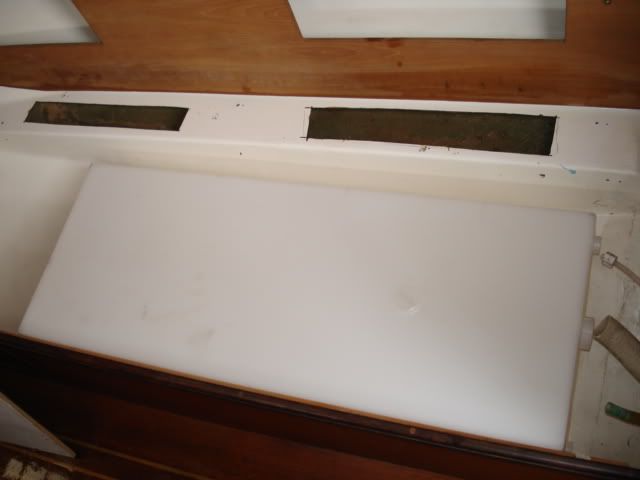
Now $1100 for two 30 gallon water tanks sounded a little over the top to me, so I got online and made some calls. Found a company in CA (www.ronco-plastics.net) that had a very similar, albeit smaller (25 vs 30) tank for almost half the price. Got those ordered. There is only one real difference between the old/new tanks and that is that the liner under the berth has a ridge in the middle of the bay where the tank sits and the OEM tank has a corresponding groove in it. The ridge helps keep the tank from moving forward and aft in a seaway. The new tanks don't have that groove.
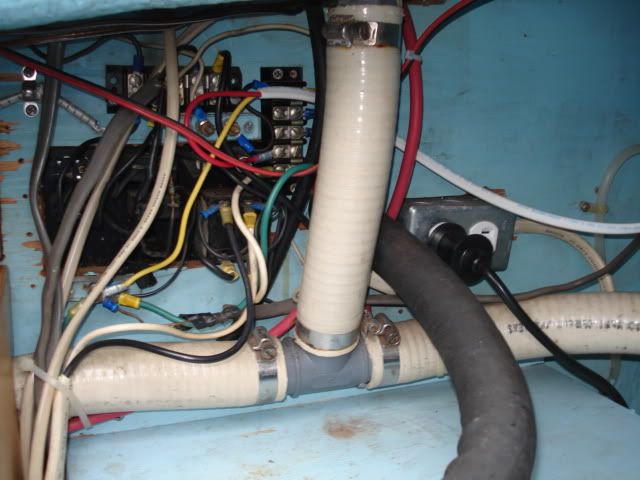
While thinking about solutions to that issue, I decided to start replacing the hoses. The deck fill is on the starboard bridge deck and the fill hose "T's" just below it. I hadn't really paid attention to that fact `til now. And now is when I realize that if I just replace the hose in the same position it's in now, I'll be running it within an inch of the unprotected backside of the charging panel. Not the best of ideas.
After staring at the panel for about an hour, and realizing what a mess the wiring was in, and trying to make all sorts of dubious choices about running the hoses this way and that, I finally decided to just start over.
That's right, I'm going to re-wire Mathilda - properly - just so I can have fresh water.
This means that I'll have to pull the shore power for a week while I patch the holes in the bulkhead and run wires in between going to work, etc.
Luckily, it's a balmy 47 degrees as I write this.
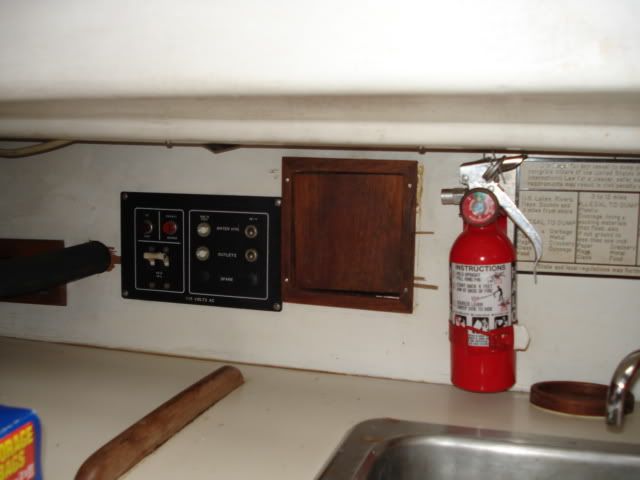
As you look at the pictures below, you'll notice the prior owners "upgrades".......seems a shame to replace it all.....
The "door" in the last picture led to a trash bin in the lazarette. Hiding behind the black hose in the same picture is a 110 outlet. It's on the backside of the outlet in the 2nd picture.


